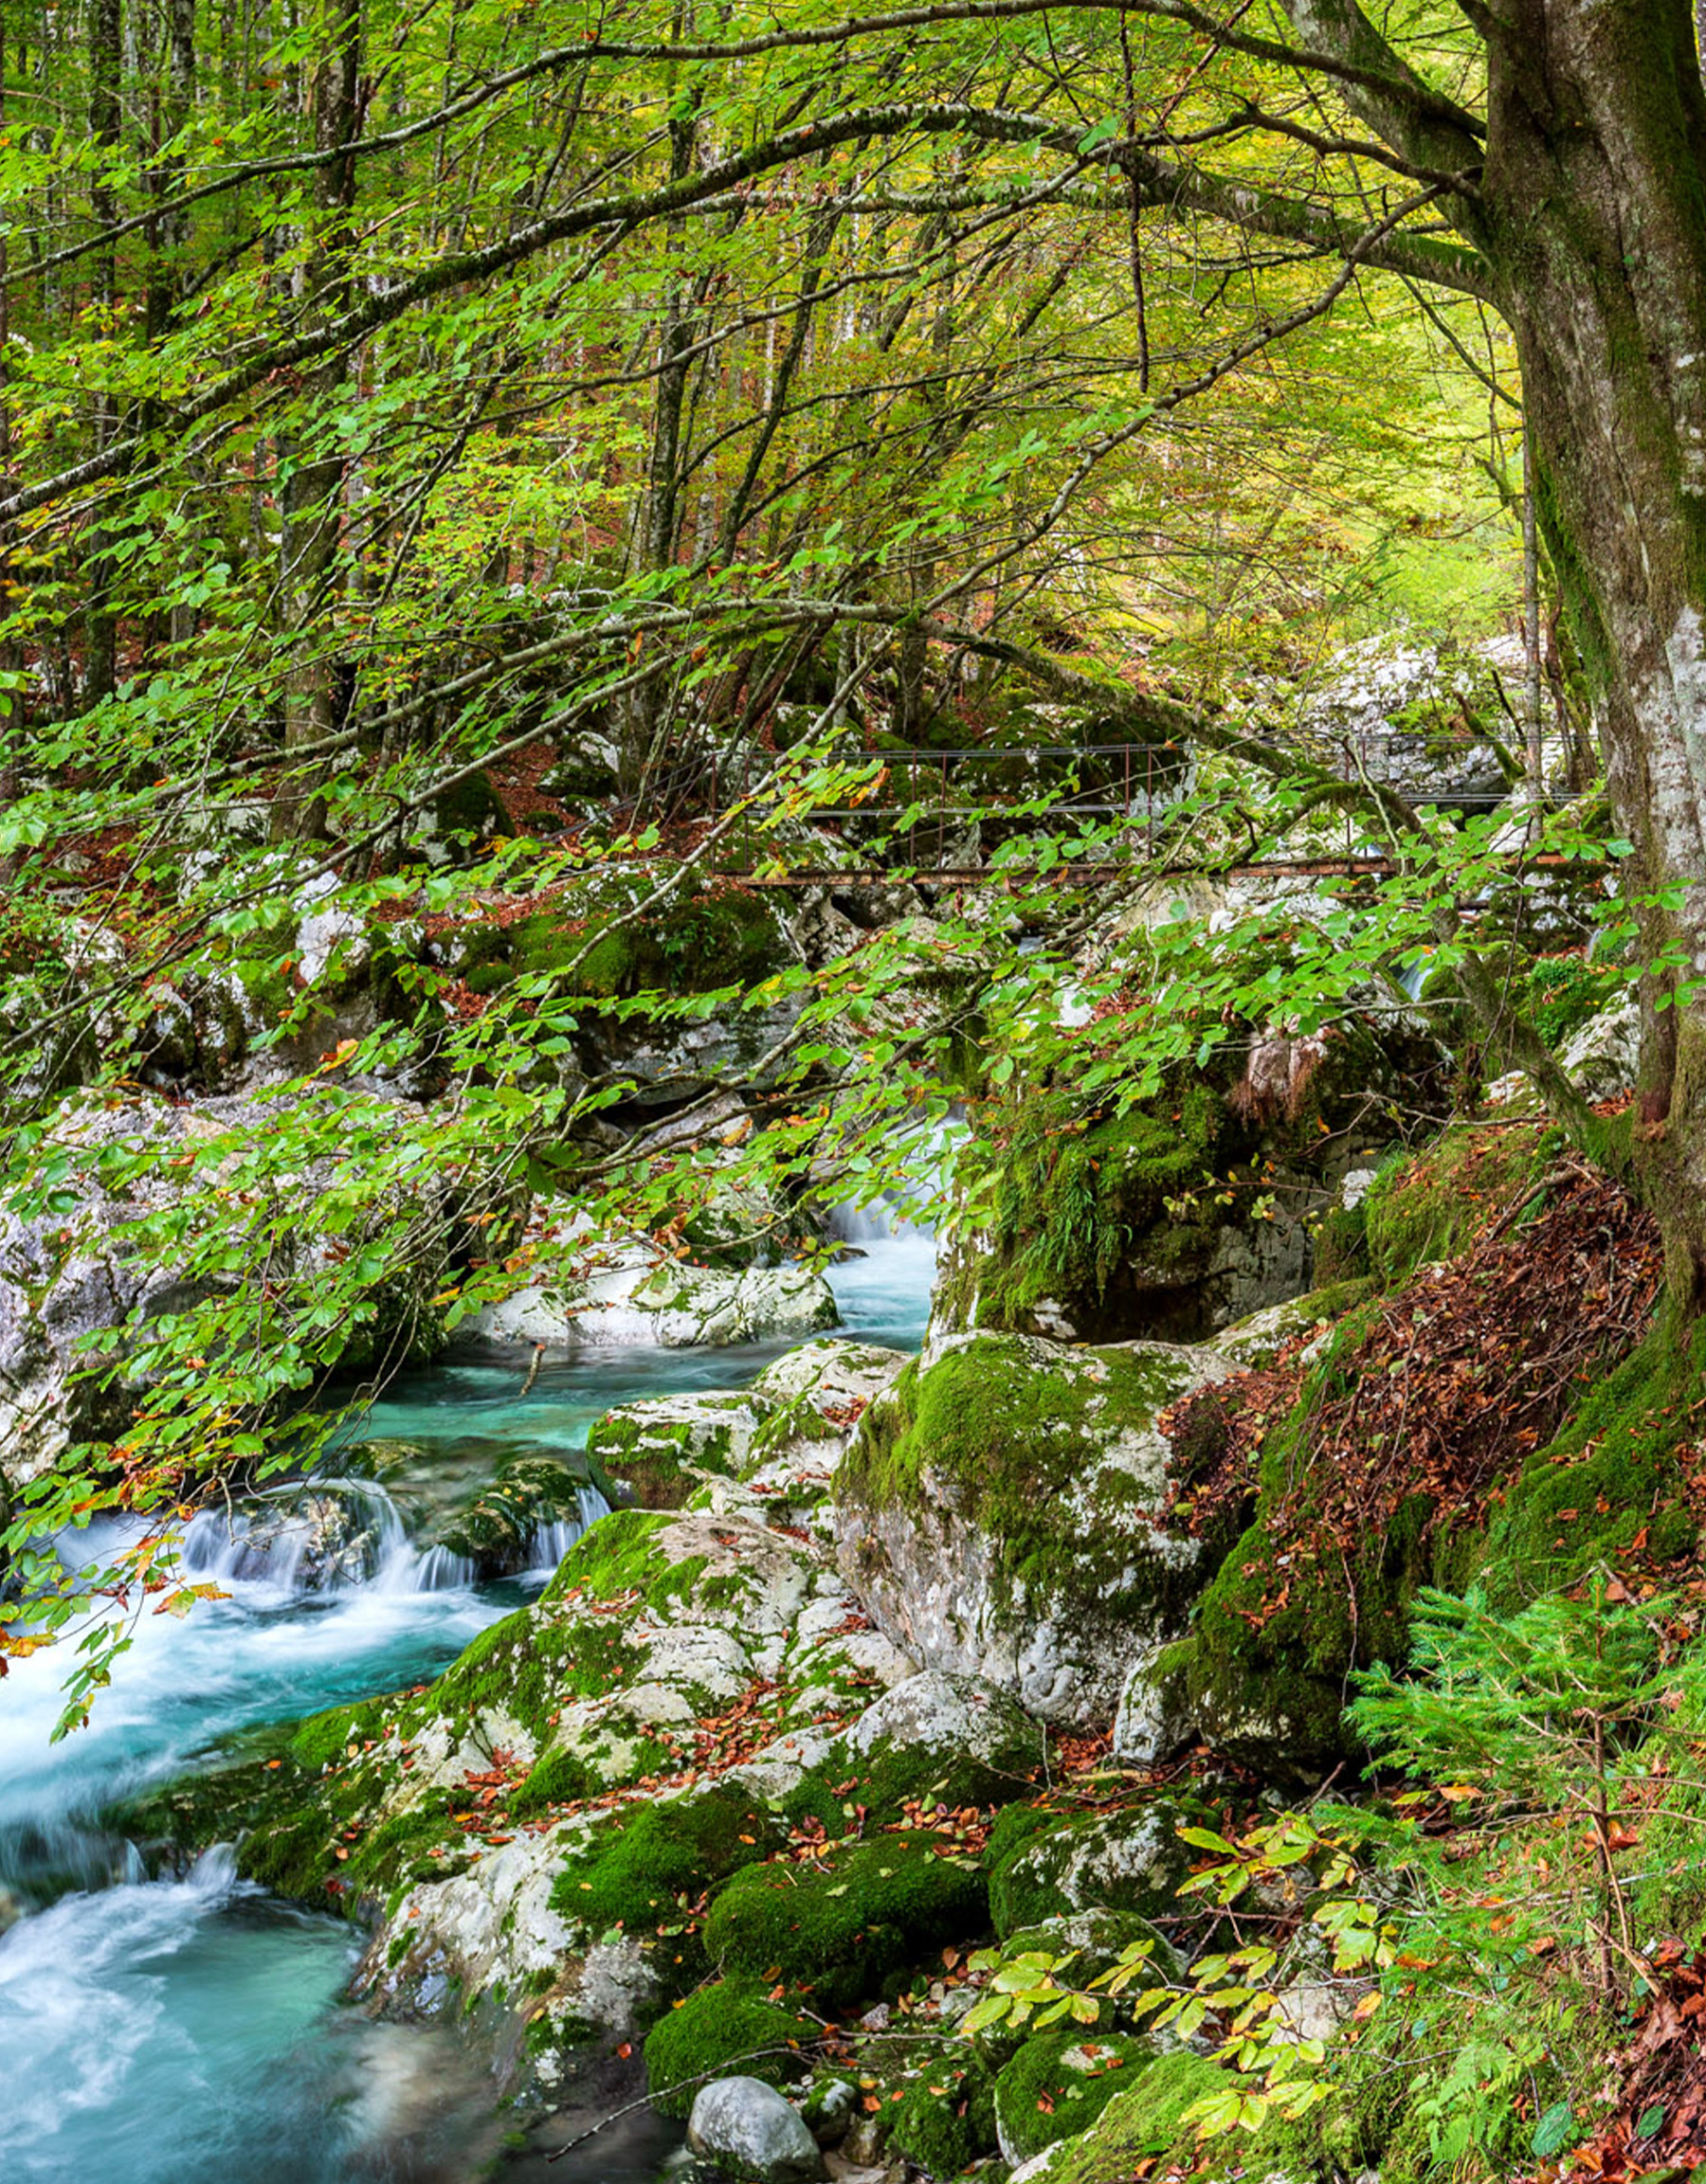
If someone asks me, "Which filter should I buy first?" my answer is clear: a polarizing filter. It's like magic—it effortlessly removes unwanted reflections. But that’s not all. Let’s start from the beginning…
First, polarizing filters come in two types: circular screw-on filters and square filters for holder systems. A screw-on filter attaches directly to your lens, so you’ll need to know your lens diameter. If you have multiple lenses with different diameters, adapter rings can help.
If you own a NiSi filter holder system, a polarizing filter is already included (e.g., V7 filter holder). Keep in mind that a screw-on polarizer won’t fit into a holder system—these are separate types of filters.
NiSi offers two versions: the TC and the HUC C-PL. C-PL stands for Circular Polarizing Filter. I recommend the TC (True Color) filter, as it ensures color accuracy and is one of the few polarizers without color shifts.
Now for the key question: When do you need a polarizing filter?
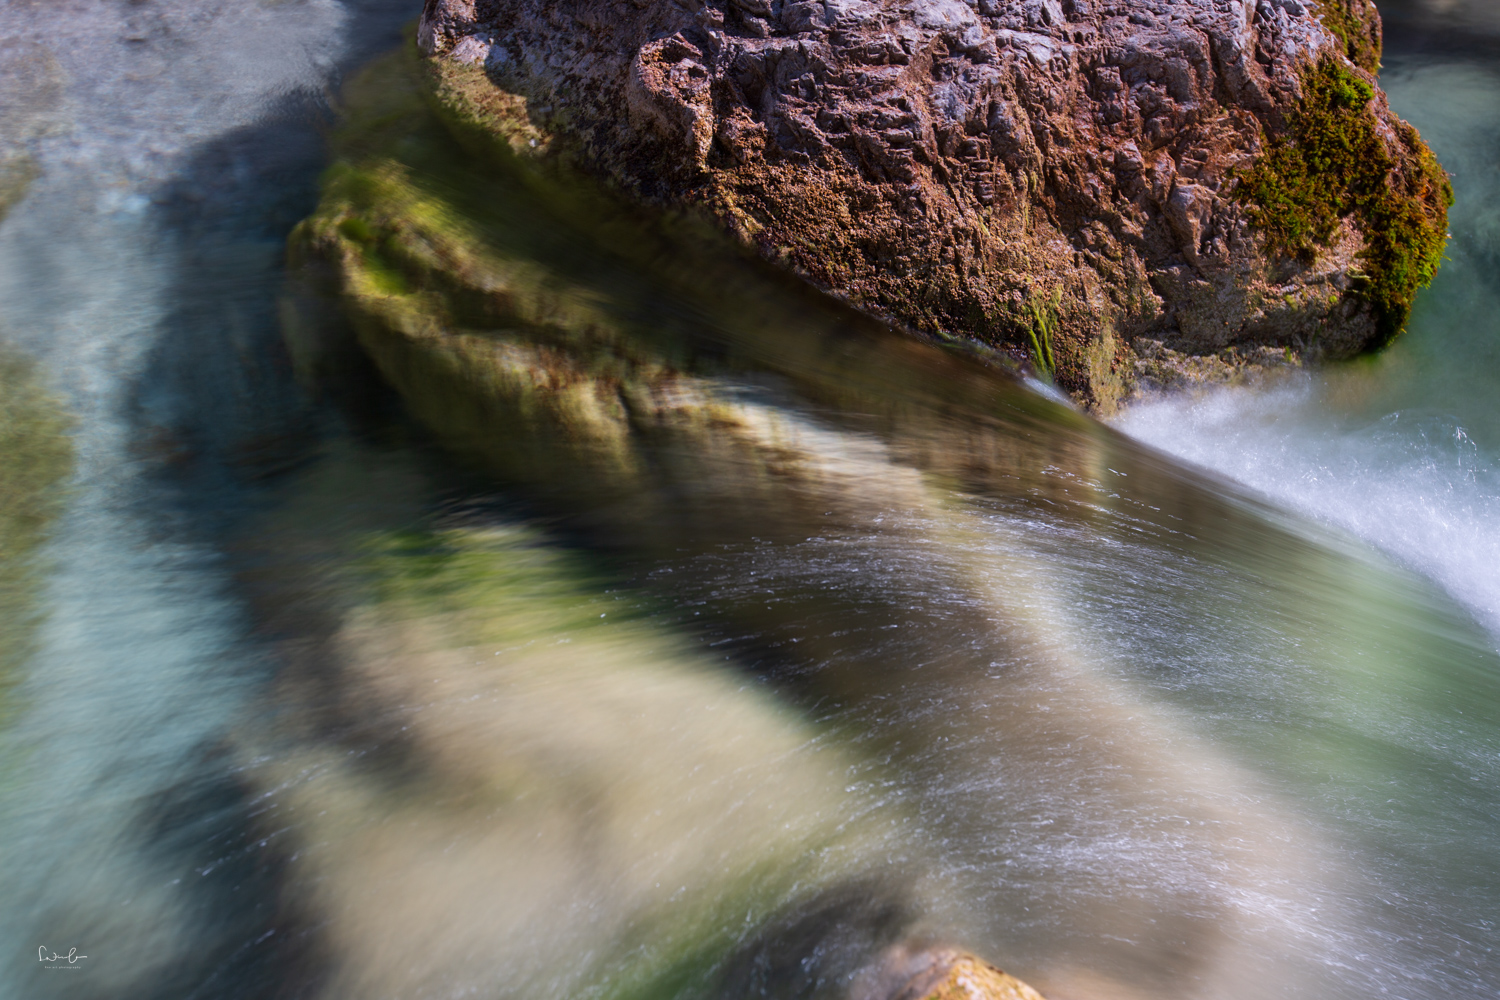
When photographing waterfalls or streams.
You’ve probably noticed strong reflections in photos of waterfalls or flowing water. These reflections can be distracting and take away from the beauty of the scene. A polarizing filter eliminates these reflections, giving you crystal-clear water.
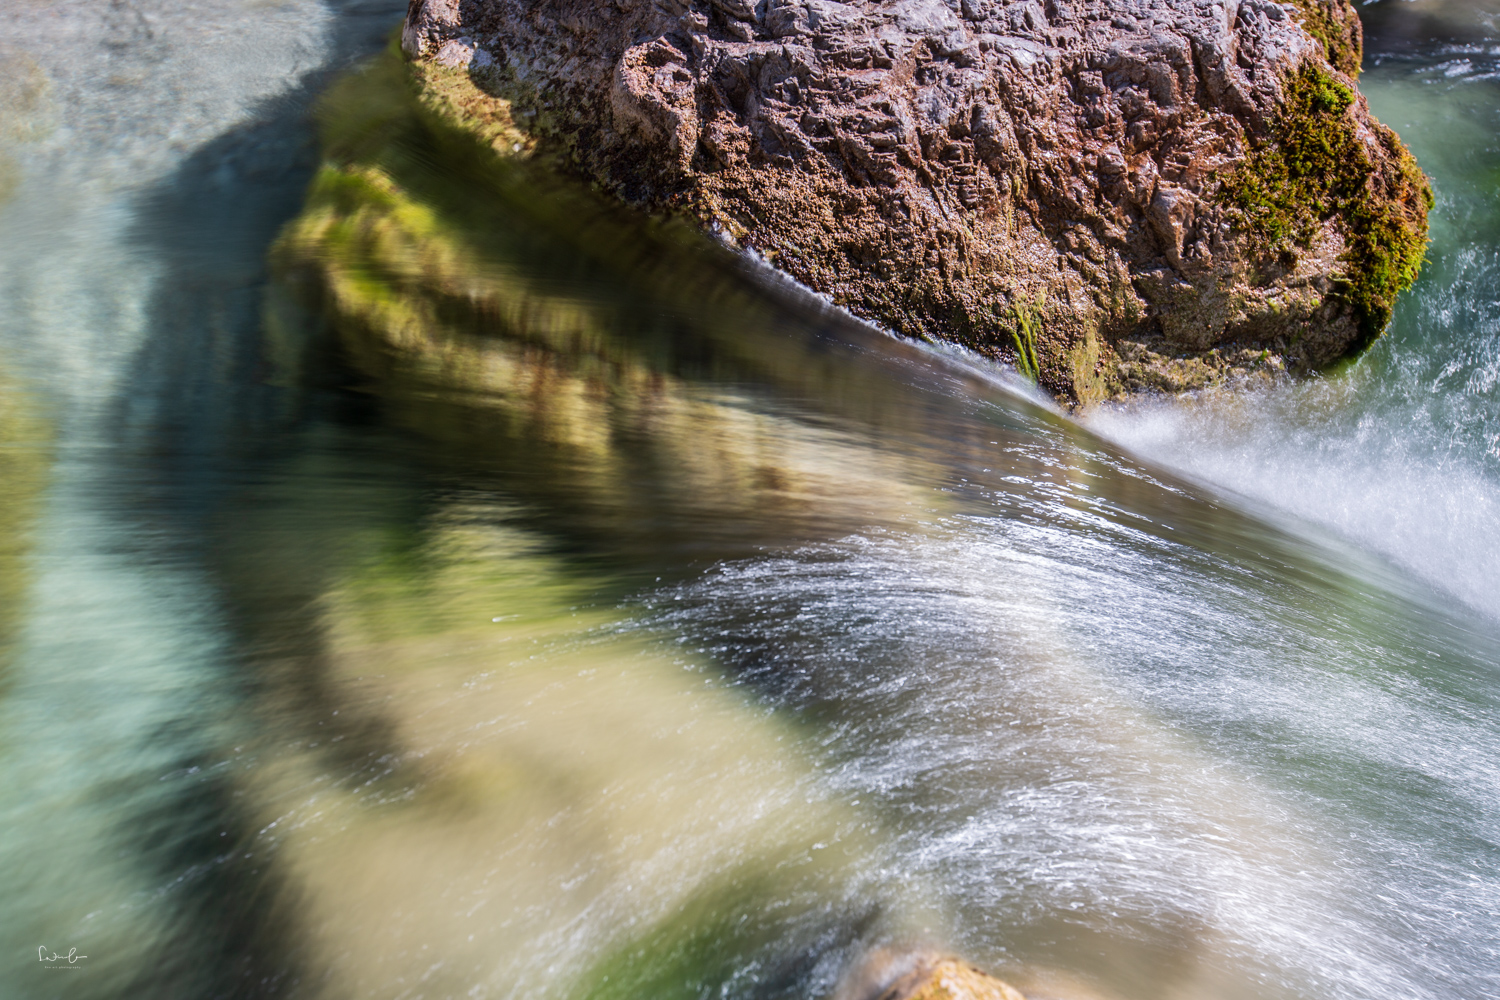
ohne NiSi Polfilter
mit NiSi Polfilter
2. When photographing lakes.
What’s more beautiful than a crystal-clear lake reflecting the surrounding mountains? With a polarizing filter, you can control the effect—either enhancing the reflection or revealing more of the clear water beneath.
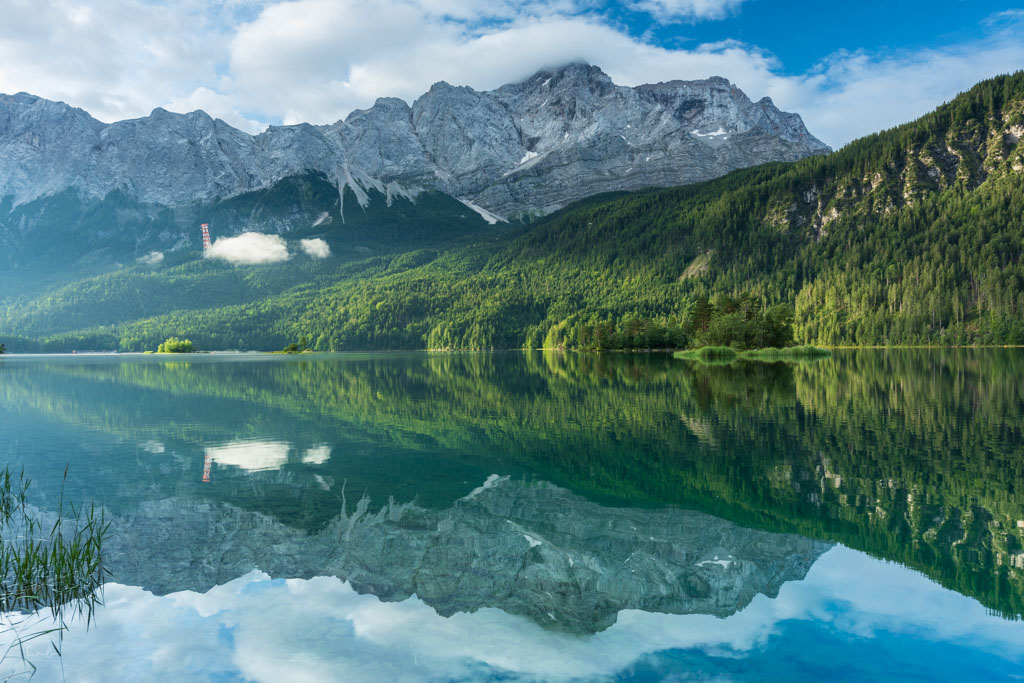
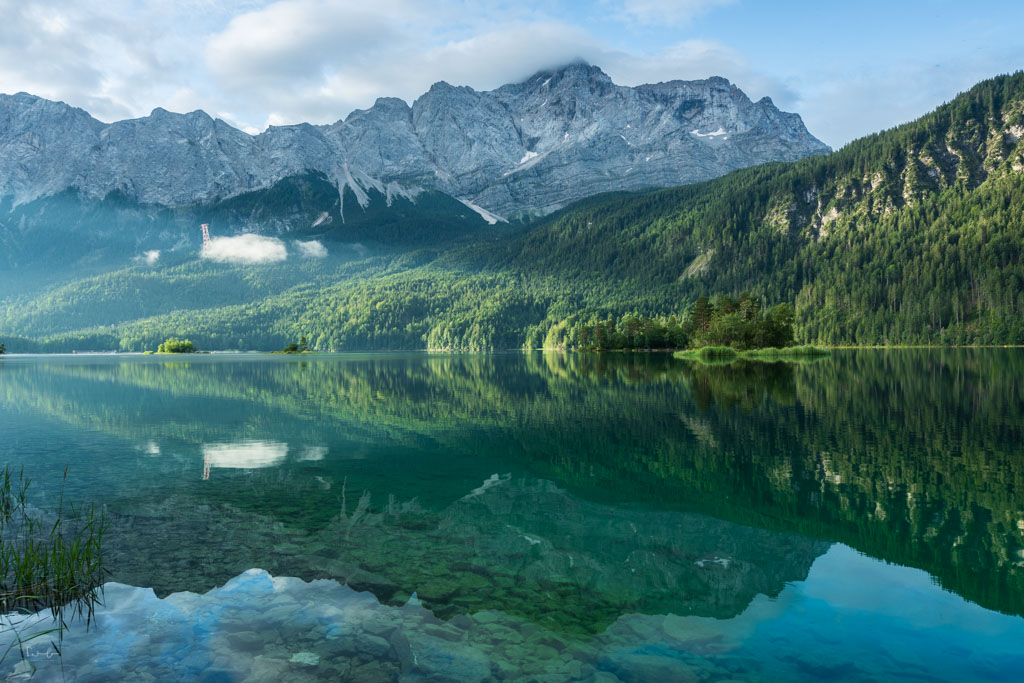
ohne NiSi Polfilter
mit NiSi Polfilter
3. When photographing glass.
A polarizing filter reduces reflections from reflective surfaces like glass. This allows you to see through windows more clearly and eliminates unwanted glare.

4. To enhance colors.
Using a polarizing filter can intensify the blue of the sky. It’s especially useful in autumn when the colorful leaves become even more vibrant with the filter’s effect.
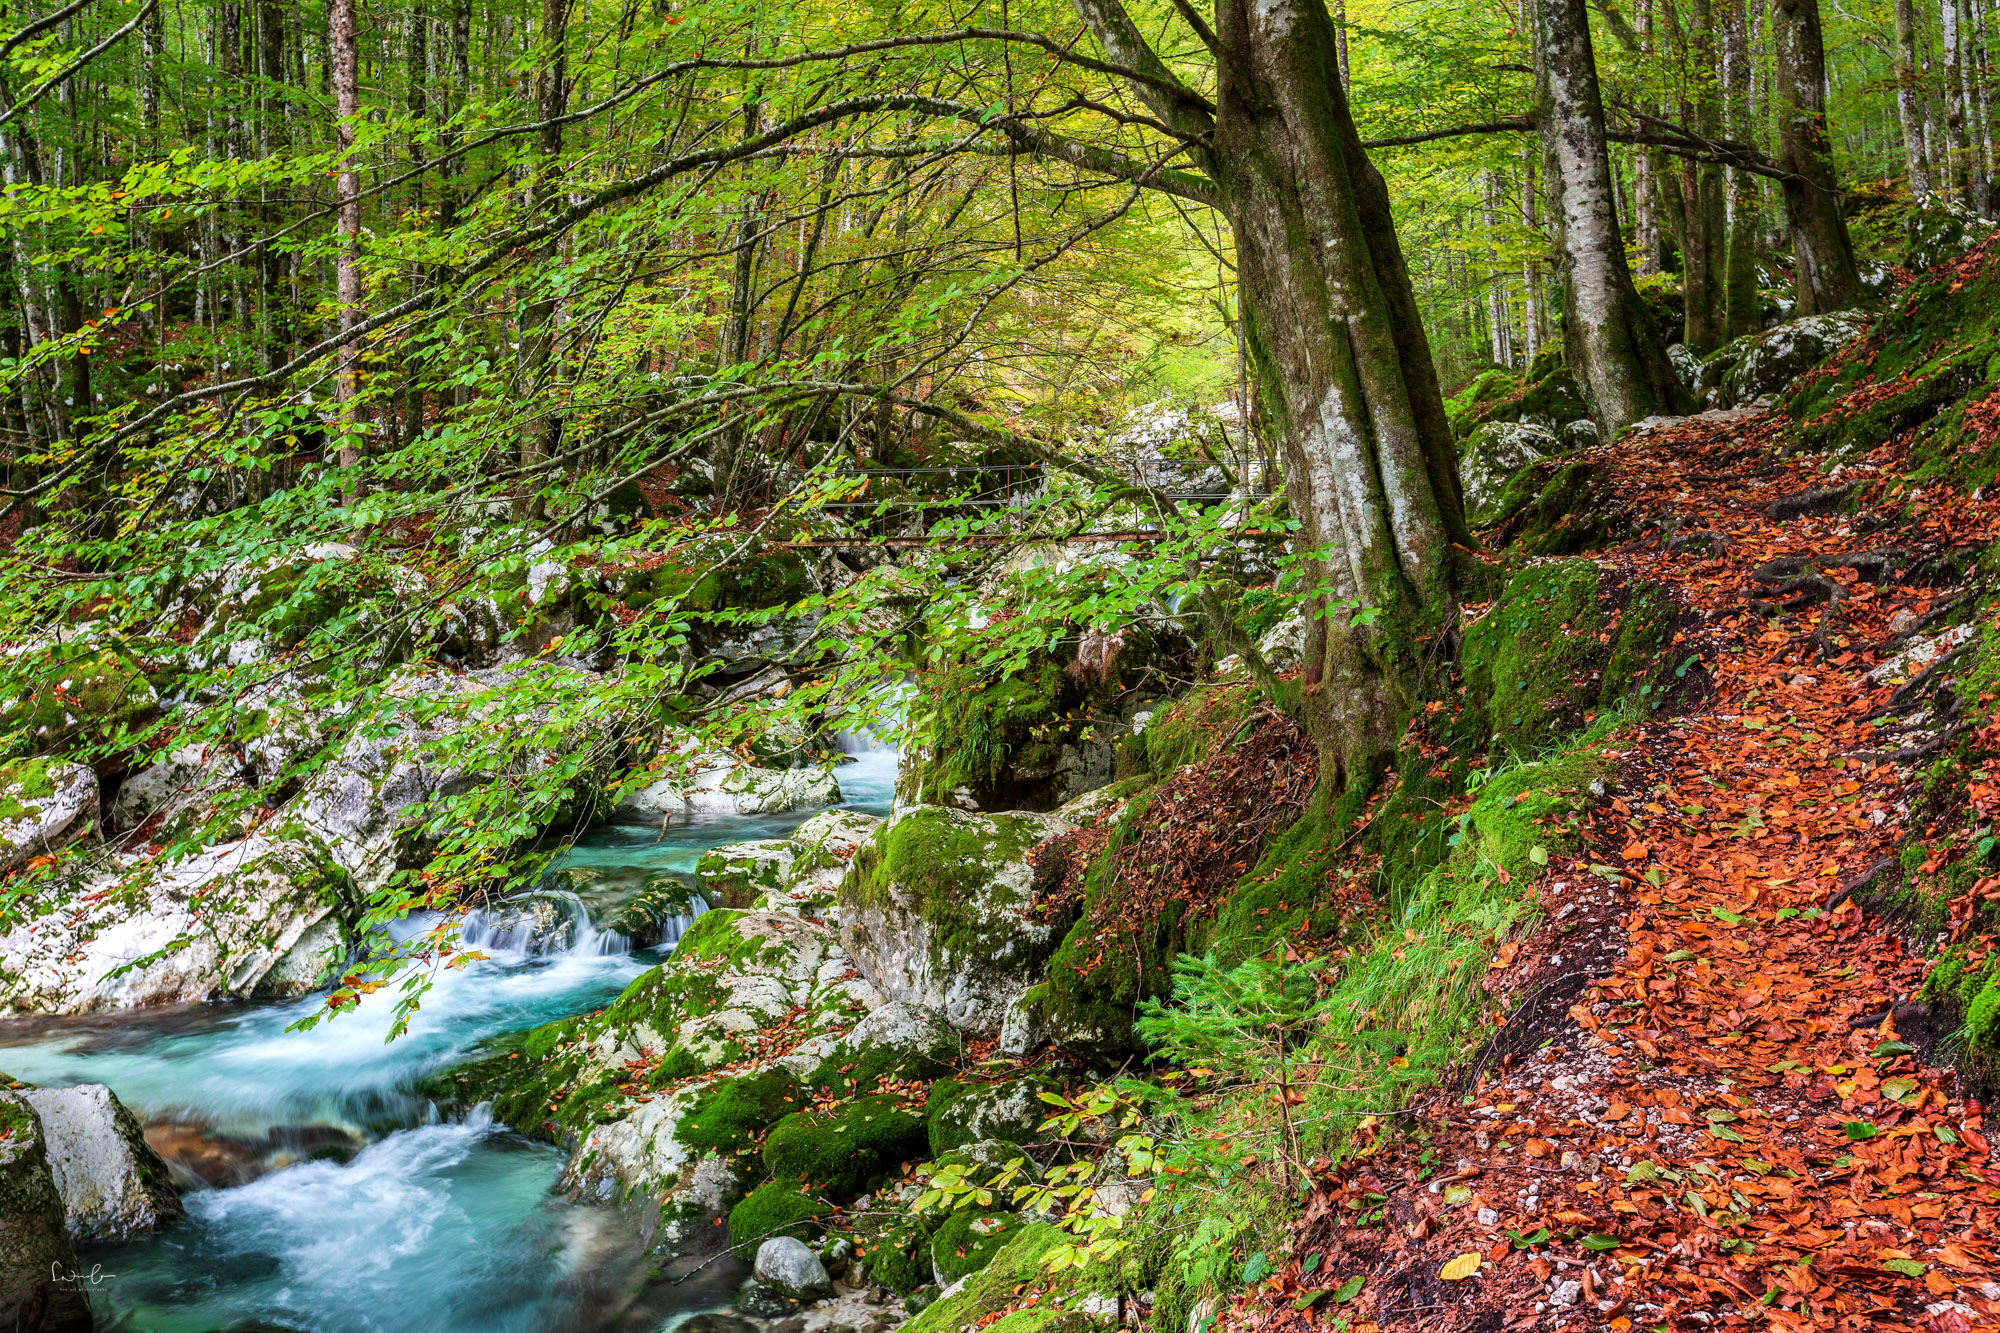
The final question is: How do you use a polarizing filter to see its full effect?
It’s simple. Stand in front of your subject and observe the reflections. Let’s take a waterfall as an example. Attach the filter to your lens and slowly rotate it. As you turn it, look through the viewfinder or display and watch how the reflections change—either becoming stronger or disappearing. Keep rotating until you achieve the desired effect. Then, adjust your exposure settings and take your shot.

